Introduction to DIY Upholstery
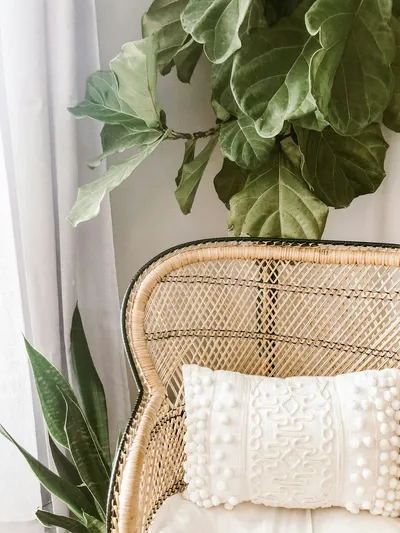
Upholstering your furniture is a fantastic way to breathe new life into outdated or worn pieces. It allows you to customize your décor to suit your personal style while maintaining budgetary constraints. In this guide, we will take you through the steps of a DIY upholstery project, offering tips and tricks to ensure a professional looking finish.
Gathering Your Materials
Essential Tools
Before you begin reupholstering, gather these essential tools: a heavy-duty staple gun, fabric scissors, upholstery needle, and fabric adhesive. Additionally, having a seam ripper and measuring tape on hand will be advantageous.
Selecting the Right Fabric
Choose a durable fabric that suits the wear and tear expected. Consider patterns that are easy to align, as this simplifies the upholstery process.
Step-by-Step Upholstery Guide
Step 1: Remove the Old Fabric
Use your seam ripper to remove the existing fabric carefully. Take note of how the fabric was originally placed, as it will be helpful when applying the new fabric.
Step 2: Prepare the Frame
Inspect the furniture’s frame for any necessary repairs. Tighten loose joints and replace any damaged padding or batting to secure a comfortable seating experience.
Step 3: Cutting the New Fabric
Lay the old fabric pieces on top of your new material and use them as templates. Ensure you cut precisely, leaving extra fabric to account for errors and securing edges.
Step 4: Attaching the Fabric
Start applying the new fabric to your furniture, working from the interior outwards. Secure each side with your staple gun, ensuring the fabric is taut to avoid sagging.
Finishing Touches
Ensure all edges are sealed, and fabric patterns align neatly. Use your fabric adhesive to hold any loose threads or small sections that need extra reinforcement.
Conclusion
By undertaking a DIY upholstery project, not only do you revitalize your furniture, but you also gain a sense of accomplishment. By following these steps, your fabrications can look professionally completed, at a fraction of the cost. Ready your tools and embrace the transformation!
Popular Interior and Exterior Design Ideas
Check out our readers' favorite design ideas for both interior and exterior spaces. Explore top articles on transforming your home.
Transform Your Space with DIY Hardscaping Tips

Why You Need Artificial Palm Trees in Your Home in 2024