Introduction
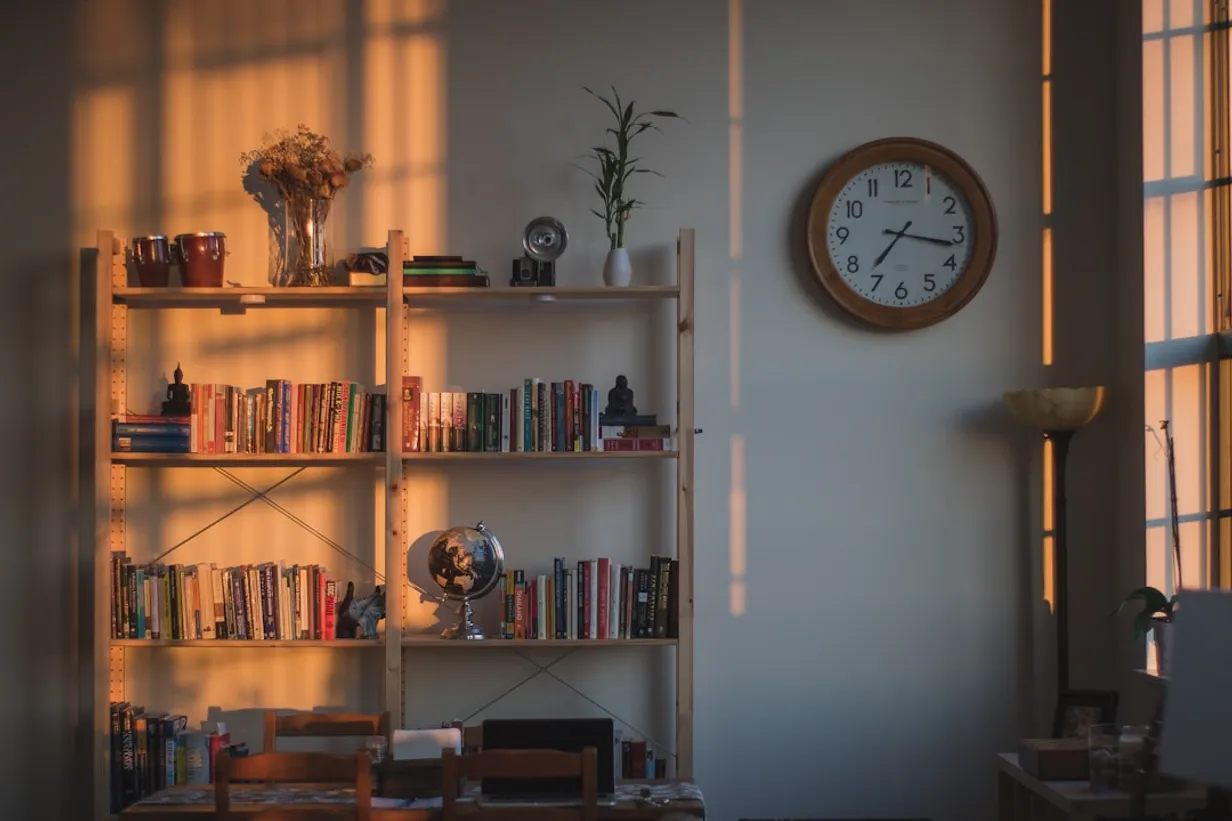
A custom DIY bookshelf not only offers a practical storage solution, but it also allows you to infuse a personal touch into your home decor. Whether it's for your living room, study, or bedroom, a bespoke bookshelf can be designed to fit exactly into your available space and reflect your personal style.
Materials and Tools Needed
Materials
- Wood planks (type and size depend on your design)
- Wood screws
- Wood glue
- Sandpaper
- Wood stain or paint
- Sealant
Tools
- Measuring tape
- Level
- Drill with bits
- Saw (circular or hand saw)
- Clamps
- Paintbrushes or rollers
- Screwdriver
Step-by-Step Guide
Step 1: Plan Your Design
Start by planning your bookshelf design. Consider the dimensions and the amount of space you have available. Sketch out your design on paper, including the height, width, and depth of the bookshelf. Decide on the number of shelves and their spacing.
Step 2: Gather Your Materials
Once you have your design, purchase the necessary wood and hardware. If you don't have the tools, consider renting them from a local hardware store.
Step 3: Cut the Wood
Using your saw, cut the wood planks to the required dimensions. Double-check your measurements to ensure accuracy. Sand the cut edges for a smooth finish.
Step 4: Assemble the Frame
Begin by assembling the sides and the back of the bookshelf. Use wood glue and screws to secure the joints, ensuring they are square by using a level. Allow the glue to dry according to the manufacturer's instructions before proceeding.
Step 5: Attach the Shelves
Mark the positions of the shelves on the sides of the frame. Pre-drill holes to prevent the wood from splitting. Secure each shelf with wood screws and wood glue. Use clamps to hold the shelves in place as the glue dries.
Step 6: Sand and Finish
Once the bookshelf is fully assembled, sand the entire piece to remove any rough edges. Apply wood stain or paint according to your preference. Finish with a sealant to protect the wood.
Step 7: Install Your Bookshelf
After the finish has dried completely, move your bookshelf to its designated spot. Secure it to the wall if needed for additional stability, especially if you have children or live in an earthquake-prone area.
Conclusion
Building a custom DIY bookshelf is a rewarding project that enhances both the functionality and aesthetics of your space. With careful planning and execution, you can create a unique piece that reflects your personal style and fits perfectly into your home.
Popular Interior and Exterior Design Ideas
Check out our readers' favorite design ideas for both interior and exterior spaces. Explore top articles on transforming your home.
Creating a Unique Space in Your Home with Arch Mirrors