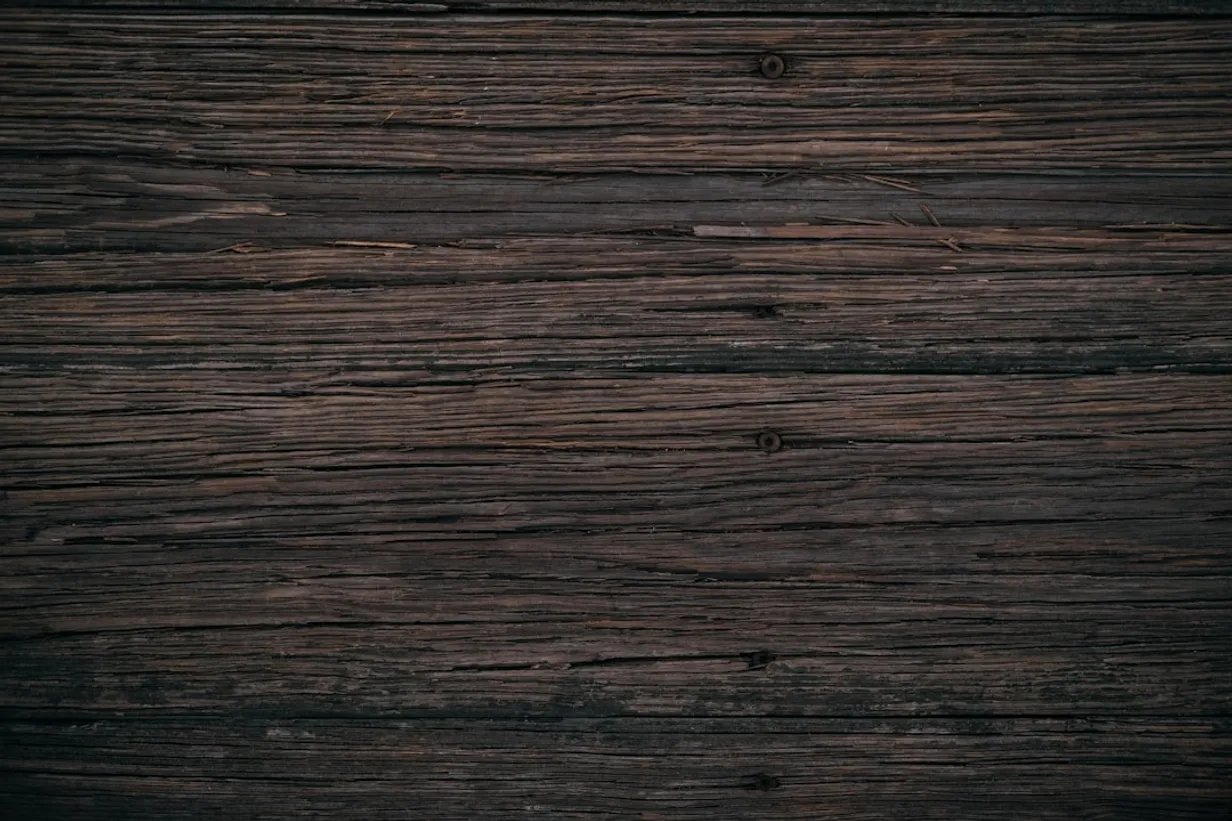
Introduction to Wood Accent Walls
Whether you want to add warmth, character, or a touch of rustic charm to a room, a DIY wood accent wall can be an excellent choice. This project is perfect for anyone who loves the look of natural wood and wants to create a feature wall that stands out.
Materials and Tools Required
Materials
- Wood planks (reclaimed or new)
- Nails or wood screws
- Wood stain or paint (optional)
- Sandpaper
- Wood glue (optional)
Tools
- Measuring tape
- Level
- Hammer or screwdriver
- Saw (preferably a miter saw)
- Stud finder
- Paintbrush or roller (if staining)
Step-by-Step Guide
Step 1: Plan Your Wall
Start by measuring the wall where you want to install the wood planks. Decide on a design pattern – horizontal, vertical, or herringbone – and estimate how much wood you'll need.
Step 2: Prepare the Wall and Planks
Use a stud finder to mark the wall’s studs. This will help secure the planks properly. Sand down the wood planks to smooth out any rough edges and apply wood stain or paint if desired. Let them dry completely.
Step 3: Install the Planks
Begin by attaching the first plank at the top corner of the wall using nails or screws. Use a level to make sure it’s straight. Continue placing the planks row by row, ensuring each is level and fits snugly against the previous.
Step 4: Finishing Touches
Once all the planks are installed, sand any rough edges and touch up with paint or stain as necessary. Step back and admire your new rustic wood accent.
Benefits of a Wood Accent Wall
A wood accent wall not only enhances the aesthetics of your home but also adds value by giving it a unique, custom look. It can improve acoustics and provide an extra layer of insulation.
Conclusion
Creating a rustic DIY wood accent wall is a rewarding project that can be accomplished in a weekend. With the right materials and our clear instructions, you’ll transform your space into a stylish haven.
Popular Interior and Exterior Design Ideas
Check out our readers' favorite design ideas for both interior and exterior spaces. Explore top articles on transforming your home.
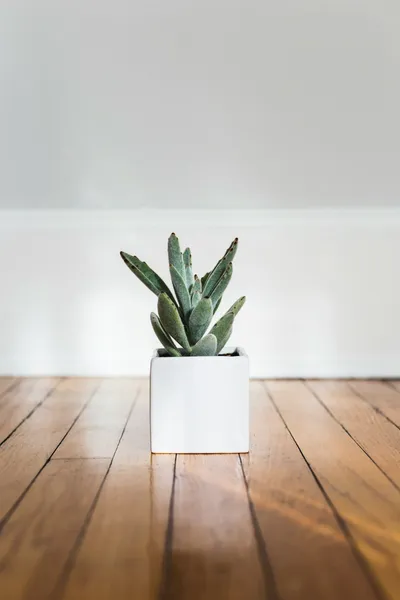
Using Fake Indoor Plants Could Be the Best Thing You Ever Tried